Thursday, June 2, 2011

Brownies (from scratch!)

I had to bake something at the last-minute for work recently and only had about an hour, so cupcakes were out.  Usually I just whip up brownies in this situation, but I didn’t have any brownie mix on hand.  Then I realized – I could make these from scratch!

I pulled out my trusty Joy of Cooking and found a recipe for Brownies Cockaigne.

First, I melted butter and chocolate in a sauce pan, then set aside to cool (I was crunched for time so I stuck it in the fridge).

Once they were cooled, I beat 4 eggs and salt with a wire whisk…

Until foamy:

I whisked in sugar and vanilla, then stirred in the chocolate mixture and flour until just combined.

I poured into a greased pan and baked for approx. 30 minutes.

Before it cooled, I dusted with powdered sugar – pretty!

This is a quick, easy recipe and only needs 7 ingredients – in my opinion, it was pretty comparable to the Ghirardelli boxed mix I usually use!

Brownies Cockaigne (from Joy of Cooking)
1 stick unsalted butter
4 oz unsweetened chocolate
4 large eggs
¼ tsp salt
2 cups sugar
1 tsp vanilla
1 cup all-purpose flour

·         Preheat oven to 350
·         Melt butter and chocolate together in small saucepan. Cool completely.
·         Beat eggs and salt until foaming.  Add the sugar and vanilla and mix well.
·         Add the cooled chocolate mixture and stir until just combined.
·         Add the flour and stir until just combined.
·         Pour into a greased 13”x9” pan and bake for 25-30 minutes, or until toothpick inserted comes out clean.
·         Place on wire rack to cool and dust with powdered sugar, if desired.

Bon appétit!

Tuesday, May 31, 2011

Sweet Finds at Target

I don’t get to Target often; I hate dealing with the crowds and the parking lot and the lines.  But I went last Sunday to pick up a few things I needed and, as always, swung through their “Dollar Zone” on my way in.  You can find really cute things in this section if you’re willing to weed through all of the plastic placemats and children’s toys.  I found some items I was excited about and decided to share them with you!

This black and white bakery box ($1) was the perfect thing to send my donation to Bloggers Bake for Hope in:

How sweet is this magnetic memo pad ($1)? 

And these gift bags were 2 for $1 – I love the bright patterns, and it’s always good to have non-holiday-specific gift bags around.

Have you had any great finds at Target lately?

Sunday, May 29, 2011

Honey Butter

I decided to make a honey butter to go with my homemade whole wheat bread.  I had this jar of lemon honey left over from a trip to Italy last fall (I know, I know, I’m so cosmopolitan!) and decided to use it.

This is pretty easy – just beat a stick of softened butter with 1 heaping tablespoon of honey and ½ tsp sea salt, and refrigerate until firm.
+

+
=


It’s an easy way to add some extra flavor to bread, dinner rolls, etc.  If you’re really fancy, you can even form it in a butter mold for a special event.

Enjoy!

Honey Butter
1 stick unsalted butter, softened
1 heaping tbsp honey
½ tsp sea salt

·         Beat all ingredients together until blended. 
·         Refrigerate for one hour, or until firm.

Friday, May 27, 2011

Homemade Honey Whole Wheat Bread

Another item on my “to-do” list is homemade bread.  Since I was making soup, I decided to make fresh bread to go with it!  I found a simple recipe on King Arthur Flour to try.
 
I gathered my ingredients – pretty straightforward.  I didn’t have dry milk, so I substituted ½ cup of milk (room temperature) for ½ cup of water.

I stirred together all of the ingredients – this was difficult, and I ended up doing a lot of it by hand.  It didn’t seem to affect the bread at all J

Once the dough was fairly well mixed, I kneaded it on a greased wooden cutting board for 8 minutes.  No pictures of this, but boy were my arms tired!
I placed the ball of dough into a lightly greased bowl and covered with a towel, then let it sit for 1 hour.

It puffed up quite a bit – though hard to tell from this picture.  I should note my kitchen was very warm.


I then shaped the dough into a log and placed it into a greased loafed pan.  I covered the pan loosely with greased plastic wrap, and let it sit for another 1 ½ hours.


At this point, the dough had puffed up quite a bit! 
I baked for 40 minutes at 350 degrees, then removed it to a wire rack to cool.  I also rubbed the top crust with butter.

Once it was completely cooled, I sliced it and topped it with a honey butter (recipe to come later!) and ate it with my vegetable soup.  This was a great, simple recipe for my first time trying bread, and I’m excited to bake more kinds of yeast bread in the future!


Homemade Whole Wheat Bread
½ cup lukewarm water (minus 2 tbsp)
½ cup nonfat milk, room temperature
¼ cup vegetable oil
2 heaping tablespoons honey
3 ½ cups whole wheat flour
1 packet active dry yeast, dissolved in 2 tbsp of the ½ cup water
1 ½ tsp salt

·         In a large bowl, combine all of the ingredients and stir until combined.
·         Transfer the dough to a lightly greased surface, oil your hands, and knead it for 8 minutes,
·         Transfer the dough to a lightly greased bowl, cover it, and allow the dough to rise about 1 to 2 hours, depending on the warmth of your kitchen.
·         Shape the dough into an 8" log. Place the log in a lightly greased 9” x 5" loaf pan, cover the pan loosely with lightly greased plastic wrap, and allow the bread to rise for about 1.5 to 2 hours, or till the center has crowned about 1" above the rim of the pan.
·         Preheat the oven to 350°F.
·         Bake the bread for 35 to 40 minutes, tenting it lightly with aluminum foil after 20 minutes to prevent over-browning.
·         Remove the bread from the oven, and turn it out of the pan onto a rack to cool. If desired, rub the crust with a stick of butter; this will yield a soft, flavorful crust.
·         Cool completely before slicing.
·         Store the bread in a plastic bag at room temperature.

Tuesday, May 24, 2011

Vegetable Soup

The weather in Boston lately has not been very spring-like (well, I guess it has been spring-like for Boston… which is not known for typical spring weather!).  It’s been gray and rainy and damp.  Fun!  I was deciding what to cook for the week and found some soup recipes from an old issue of Martha Stewart Living.  As you may remember, soup is on my “to do” list so I decided to try a vegetable soup, based on what I had purchased at the vegetable store that weekend.

 
This is adapted from the “Autumn Harvest Soup” recipe in the October 2010 issue. 

The most time-consuming part of this was the prep work – first, I chopped up 5 carrots and 4 stalks of celery, then mixed them with minced garlic and basil.

I chopped up 2 sweet potatoes.

And a head of kale.

And some green beans.

Then I pulled out my other ingredients.

I heated 1 tbsp of olive oil in my dutch oven, then added the carrots, celery and garlic.

Once the carrots & celery began to soften, I added sweet potatoes, tomato sauce, water and vegetable broth.

I brought that to a boil, then reduced the heat and simmered for 15 minutes.  Next I added the kale, green beans and cannellini beans and simmered that for 15-20 minutes.

I topped this with some grated parmesan cheese, per Martha’s suggestion, and voila!  I also ate it with some homemade whole wheat bread, which I’ll post about later this week.

This soup was much easier to make then I expected, and it made a lot – I froze several batches for days when I don’t feel like cooking.  This soup is great because it’s not too heavy, but it’s very filling. 

Not to get all preachy, but it was great to eat this soup knowing everything that went into it was fresh.  Unlike some canned varieties, which contain ingredients I can’t even pronounce!  It’s obviously a little more work than heating up a can of soup in the microwave, but it makes several batches and is well worth the extra time (in my humble opinion) J

Vegetable Soup
1tbsp olive oil
5 small carrots, chopped
4 stalks celery, chopped
4 cloves garlic, minced
½ tsp basil
2 medium sweet potatoes, peeled and diced
1 head kale, chopped
½ LB green beans, chopped into 1-inch pieces
2 cans cannellini beans
¾ cup tomato sauce
4 cups water
4 cups vegetable broth
Grated parmesan cheese (to top it)

·         In a large dutch oven or soup pot, heat the olive oil. 
·         Add the carrots, celery, garlic and basil.  Cook, stirring occasionally, approx 8 minutes, or until vegetables are soft.
·         Add the tomato sauce, vegetable broth, water and sweet potatoes.  Bring to a boil.
·         Reduce heat and simmer for 15 minutes.
·         Stir in the kale, green beans and cannellini beans; simmer for 20 minutes.
·         Top with parmesan cheese and enjoy!

Friday, May 20, 2011

Popovers!

One of the items on my “Baking To Do” list this year is popovers.  A popover-loving friend came over this past weekend to help me make them.  I had recently ordered this popover pan and was excited to use it! 

I don’t know if you’ve been to Flour in the South End, but if you haven’t then you need to go.  Their entire menu is great, and I’ve yet to try something I don’t like!  So when I found this recipe for Joanne Chang’s brown sugar popovers, I knew I had to try it!

I was a bit nervous about these, as I once tried making a soufflé and it was a deflated disaster.  So, I was a bit touchy about trying something else that involved me being patient and not opening the oven door to check on progress!

The recipe itself is fairly straightforward.  I got out all my ingredients – the butter needs to be melted and cooled to room temperature, and the milk needs to be at room temperature as well.

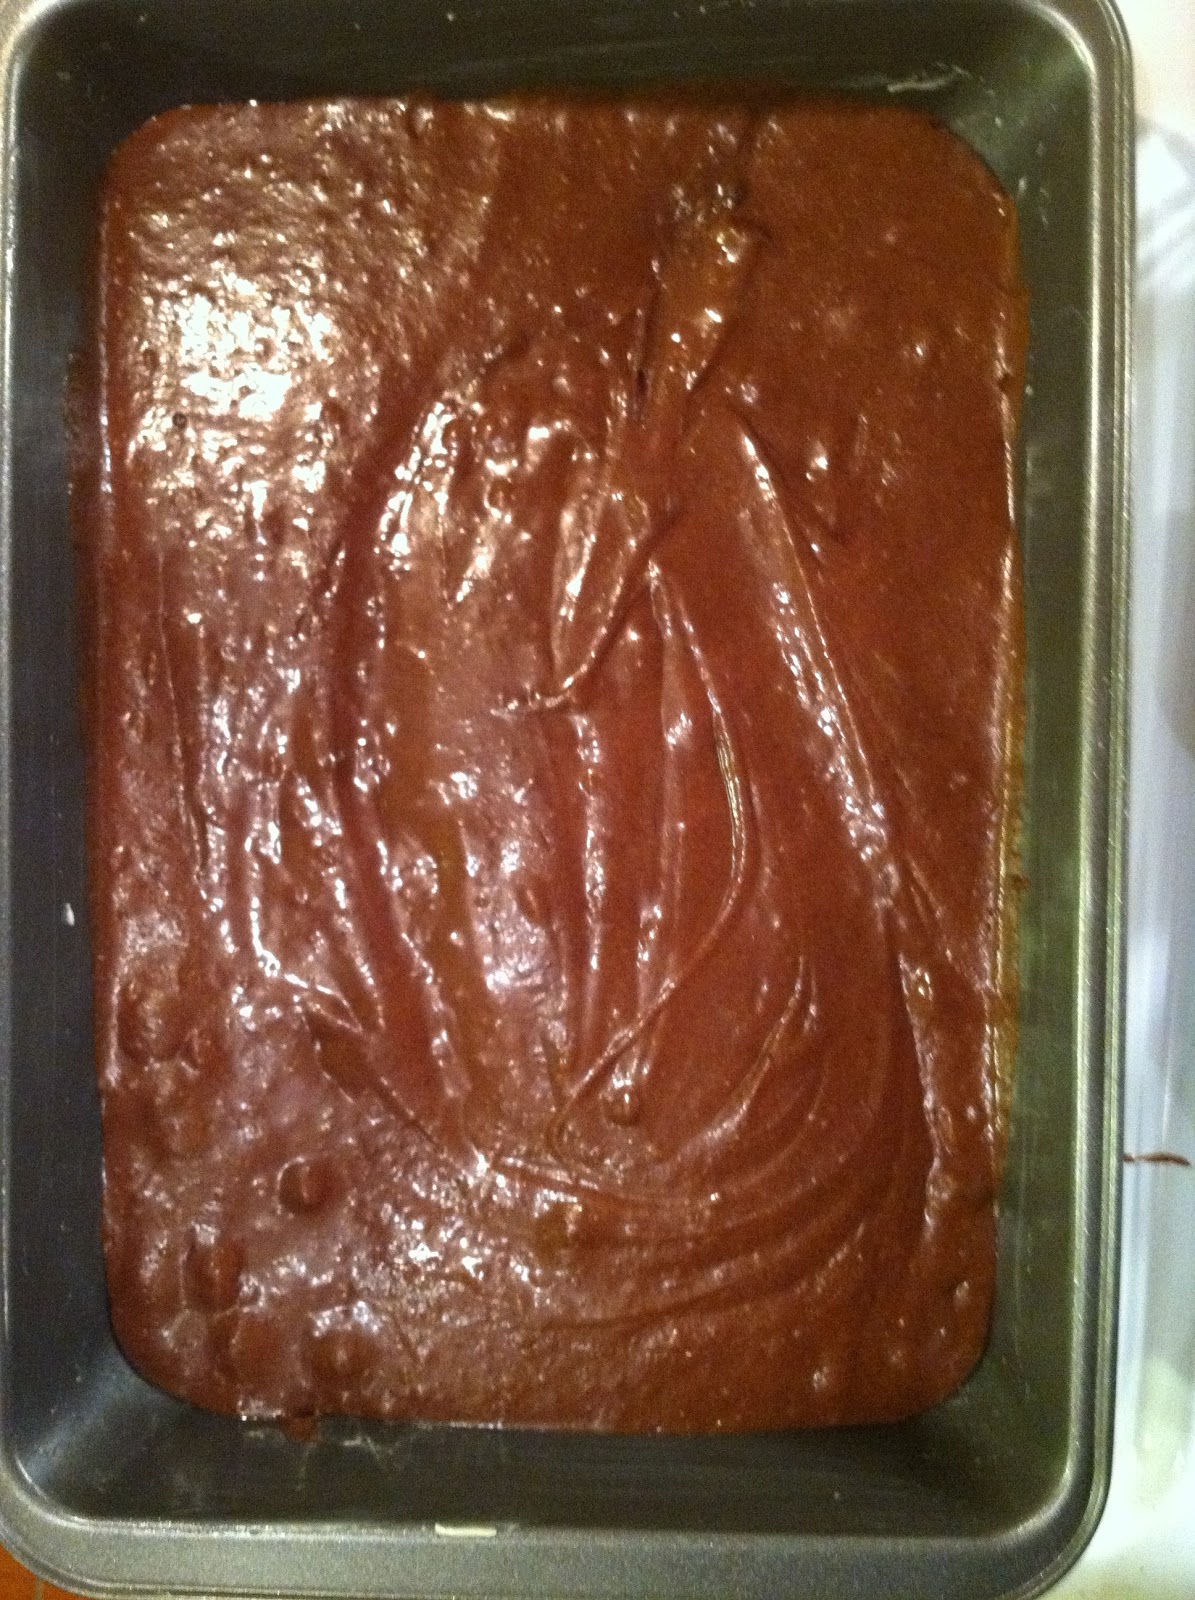
I didn’t take many pictures as we were concentrating on not messing up the recipe!  In a small bowl we whisked together flour, salt, cinnamon and brown sugar and set aside.  In a separate, larger bowl we whisked together the milk, eggs and butter.

We then gradually added the flour mixture to the milk mixture until just combined.  My arm was tired!

We poured the batter into the popover pan (you can also use a large muffin pan), put into the oven and waited.  Halfway through, I turned the temperature down to 350.

I took these out after 40 minutes and they were puffy!  And even better, they didn’t deflate!

They were nice and airy inside as well.  We tried one with salted butter, and another brushed with melted  butter and dipped in brown sugar.  I preferred them with the extra sugar, of course!

Overall, I was pleased with my first attempt at popovers.  Next time I think I’d bake them for another 8-10 minutes as they were slightly doughy on the bottom.  I look forward to experimenting with more types of popovers in the future!

Brown Sugar Popovers (directly from Boston Magazine) 

2 c. unbleached all-purpose flour
½ tsp. kosher salt
¼ tsp. ground cinnamon
½ c. plus 2 tbsp. packed light brown sugar
2 c. milk, at room temperature
4 eggs
¼ c. (½ stick) unsalted butter, melted and cooled

·         Position a rack in the center of the oven, and heat the oven to 425 degrees. Butter a popover pan or standard muffin tin, and place it in the oven for about 10 minutes, or until it is hot.
·         In a small bowl, whisk together the flour, salt, cinnamon, and 2 tablespoons brown sugar.
·         In a medium bowl, whisk together the milk (make sure it is at room temperature, or the butter will form lumps), eggs, and 2 tablespoons of the melted butter.
·         Gradually whisk the flour mixture into the milk-egg mixture until thoroughly combined. The batter will be loose and liquidy and not completely smooth.
·         Remove the pan from the oven and pour the batter into the cups, filling the cups to the rim.
·         Bake for 20 minutes, then turn down the temperature to 325 degrees and continue to bake for another 40 minutes, or until the popovers are completely browned and pouffy. Don’t open the oven door to look at the popovers until at least 40 minutes into baking. You want them to be golden brown all over and tall; if you open the oven door too soon, they will deflate once they are out of the oven.
·         Let cool in the pan on a wire rack for about 10 minutes, or until cool enough to handle.
·         Place the cup brown sugar in a small bowl. Brush the remaining 2 tablespoons melted butter on the tops of the popovers, and then remove the popovers from the pan. One at a time, toss them in the brown sugar, coating each popover completely. Serve immediately if possible (they are best when eaten warm) or within 2 to 3 hours.

Tuesday, May 17, 2011

Going Bananas

I love bananas.  However, last week was very busy and I didn’t have a chance to eat most of the bananas I had purchased at the store; they were too ripe for me to eat plain (I’m picky about bananas!) so I decided to salvage them in the form of banana bread!

This is adapted from a recipe I found on allrecipes.com.  It was fairly easy to make.  I had purchased some miniature loaf pans at the grocery store and decided to use those – this recipe makes 4 mini loaves.

First, I got out all my ingredients.

Then I mashed up four bananas.
It gets more appetizing, I promise!

In one bowl, I combined flour, baking soda and salt. 
In a separate bowl, I creamed butter and brown sugar, then added 2 eggs.

I mixed that together and added the bananas, then added the banana mixture to the dry ingredients.

I poured into the loaf pans and popped into the oven.

45 minutes later – voila!  Banana bread!

Next time, I would stir this by hand instead of using a mixer – the batter was a little too liquid and as a result the bread was very dense (at least, I think this is why it was so dense!).  I wrapped the loaves tightly in plastic wrap and froze three of them for later ;)

Banana Bread
2C all-purpose flour
1TSP baking soda
¼ TSP kosher salt
½C unsalted butter, softened
¾C light brown sugar
2 eggs, beaten
3 overripe bananas

·         Preheat oven to 350
·         Grease 4 mini loaf pans
·         Mash up four bananas and set aside
·         In a large bowl, combine flour, baking soda and salt.
·         In a separate bowl, cream together butter and brown sugar.  Stir in eggs and bananas.
·         Stir banana mixture into dry mixture; stir until just moistened
·         Pour batter into loaf pans
·         Bake for 45-60 minutes, or until toothpick inserted comes out clean.  Cool on a wire rack.

Tuesday, May 3, 2011

Lemon Cupcakes with Blueberry Vanilla Frosting

I decided to make cupcakes this weekend.  I decided I’d been baking too much with chocolate (and peanut butter!) lately.  The weather was beautiful and I had some fresh blueberries on hand, so I decided to try lemon cupcakes with blueberry frosting.  It sounded nice and light and spring-like!  This recipe is adapted from my grandmother’s old vanilla cupcake recipe.

First I got together my ingredients, preheated the oven and lined a cupcake pan.

I creamed softened butter with white sugar, then added eggs and vanilla.  In a separate bowl, I whisked together bread flour, baking powder and salt, then slowly added to the butter mixture, alternating it with buttermilk.  After that I zested (is that a word?) the outer skin of 1 large lemon and added that to the mixture then made sure it was all mixed together!
 I should add that I had never used a zester before and didn't realize how sharp it was!  My poor fingers are all scraped up after using it.

I poured into the cupcake pan and put into the oven to bake.
I baked these for 19 minutes; they probably could have come out a minute earlier.  But boy did the lemon smell delicious!

While the cupcakes were cooling, I got to work on the frosting.  I chopped up ½ c blueberries, 1tsp sugar and 1 tbsp water in a food processor and set aside. 

In a large bowl, I creamed butter and vanilla then slowly added confectioners sugar, 1 cup at a time.  I then added ¼ c milk and the blueberries.

I decorated the cupcakes with my Wilton Dessert Decorator Pro

These are a great treat for spring/summer, and the sweetness of the blueberry was a great complement to the lemon cake. 

I also had to show off this fun new gadget.  My mom picked this up for me - its an individual cupcake carrier - for when you get that lunchtime craving!  Isn't it cute?  I wish I knew where she picked it up because this would be a great gift item.


Vanilla Lemon Cupcakes
1/2c unsalted butter, softened
2/3 c sugar
3 eggs
2 tsp vanilla
Zest of 1 lemon
1 ½ c bread flour
1 ½ tsp baking powder
¼ tsp salt
¼ c buttermilk
·         Preheat oven to 350 and line a cupcake pan
·         In a large bowl, cream together butter and sugar. 
·         Add eggs, one at a time, and mix well
·         Add vanilla and mix well
·         In a separate bowl, whisk together flour, baking powder and salt
·         Slowly add dry ingredients and buttermilk to the butter mixture
·         Zest the outer layer of one large lemon and add to batter
·         Mix well and pour into cupcake liners
·         Bake for 17-19 minutes, or until a toothpick inserted comes out clean

Blueberry Vanilla Buttercream Frosting
1c unsalted butter, softened
5-6c confectioners sugar
¼ c milk
2 tsp vanilla
½ c blueberries
1 tsp granulated sugar
1 tbsp water
·         In a food processor, combine blueberries, granulated sugar and water and set aside
·         In a large bowl, cream butter and slowly add confectioners sugar, 1 cup at a time
·         Slowly add vanilla, milk and blueberries
·         Mix until fluffy

Decorate as you wish and enjoy!